What Visa on Arrival Actually Means in Practice
Visa on arrival has gotten complicated with all the misinformation flying around — people mix it up with e-visas, visa-free entry, and about three other things that sound similar but work completely differently. I showed up to Bangkok’s Suvarnabhumi Airport wildly unprepared my first time through. Probably should have opened with this section, honestly.
But what is a visa on arrival? In essence, it’s a visa you apply for after you’ve already landed — at a dedicated counter inside the airport or at a border crossing. But it’s much more than that. No pre-approval process. No waiting weeks for an embassy to respond. You hand over documents, cash, and photos right there at the counter and walk away with a stamp in your passport.
An e-visa is something else entirely. You apply online before you ever leave home, get approved, print a document, and that’s your visa. No counter interaction. No surprises at immigration.
Visa-free entry means no visa at all — your passport alone covers you for stays under a set number of days. Citizens of certain countries get this for dozens of destinations without doing anything extra.
That’s what makes understanding the distinction so important for travelers who cross multiple borders each year. Each path has completely different packing requirements. Show up to a VOA counter without a printed photo and you’re stuck in the hall. Show up with an e-visa and photos aren’t needed. The counter officer won’t sympathize. So, without further ado, let’s dive in.
Documents That Get People Turned Away at the Counter
I’ve personally watched people get sent back to the departure hall because they didn’t bring printed photographs. Not digital copies. Not screenshots. Physical prints. The officer doesn’t care what’s on your phone screen.
The photograph problem
Most VOA countries require 4×6 cm photographs. Not 3.5×5 cm. Not a digital file. Physical prints — the kind you get at a pharmacy or print shop for about $3 at Walgreens or CVS. Four centimeters across is roughly postage-stamp width, smaller than most people picture when they’re packing. Bring at least two. Some countries want more if you’re applying for stays beyond 30 days.
Proof of funds and hotel confirmation
Officers want evidence you can actually support yourself during your visit. A recent credit card statement works. A bank balance screenshot from your Chase or HSBC app works. A booking confirmation from Agoda or Booking.com works. A vague verbal assurance does not work.
The hotel confirmation catches people off guard — you don’t need a reservation for your entire trip, but most countries require at least a confirmed booking for your first night. Free cancellation bookings count. Book something cheap from your phone 24 hours before landing if you haven’t already. A $15 hostel bed on Hostelworld is enough.
Return flight proof
Some officers glance briefly at your passport and wave you through. Others specifically ask to see your return or onward flight booking. Without it, they can deny entry — even at destinations where it’s technically not required. Screenshot your confirmation email and keep it accessible. Don’t make my mistake of having it buried in a folder three apps deep.
Passport validity
Your passport needs at least six months of remaining validity on most VOA routes. Check this at home — not standing at the counter with a line forming behind you. A recently renewed passport is your best friend here. An expiring one is a one-way ticket to a very stressful conversation.
Completed arrival cards
Many countries distribute a small white card either on the plane or at the counter itself. It asks for your name, birthdate, passport number, home address, accommodation address in-country, and sometimes your occupation. Print-legible handwriting matters more than people think. Bring your own pen — a basic Bic ballpoint. The pens sitting at VOA counters dry out constantly and disappear regularly.
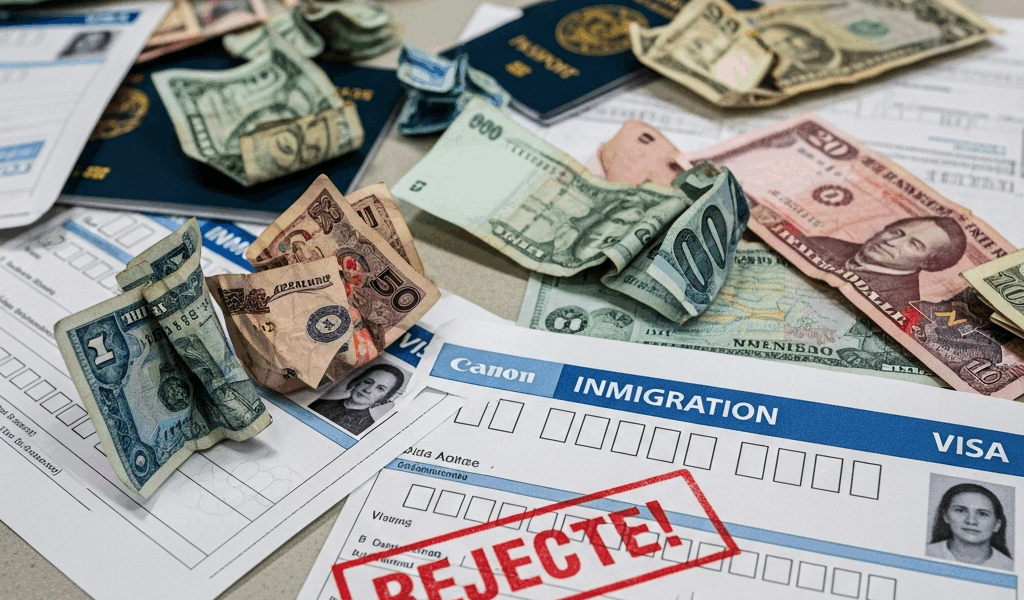
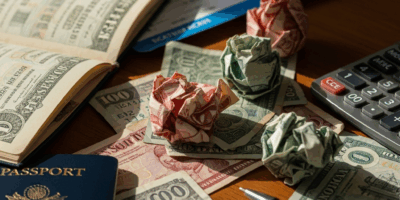
The Cash Problem Nobody Warns You About
Frustrated by an unexpected denial at a counter in Phnom Penh, a traveler I met at a guesthouse later told me she’d pulled out her Visa card confidently — only to be waved off. Cash only. Specific denominations. Most VOA windows don’t accept credit cards, not even major ones.
Thailand’s VOA fee runs 2,000 Thai baht — roughly $57 USD depending on the exchange rate that week. But if you arrive holding euros or British pounds, the officer won’t take them. They want baht or USD, full stop.
Worse: some countries only accept crisp, unmarked bills in good condition. A worn, folded $50 note might get rejected outright. Thailand doesn’t care much about bill condition. Vietnam absolutely does — I’m apparently someone who travels with beat-up cash, and that approach works for Thailand while it never works for Vietnam.
How to get the right cash before landing
Exchange money before leaving home, not at the airport. Airport exchange desks are brutal — you’ll lose 8 to 12 percent on the conversion without blinking. Hit your local bank branch or use a service like Wise or a physical currency exchange a day before departure.
Call your bank beforehand. Ask for the exact VOA fee for your destination and the accepted currency. Then get that exact amount plus roughly 20 percent extra as a buffer. Don’t wing it.
For Thailand: have $120 USD or 4,000 baht ready. For Cambodia: $35 USD or 140,000 Cambodian riel. For Laos: $42 USD or around 380,000 kip. For Vietnam: $25 USD — not euros, not pounds.
Pack this cash in a separate front pocket — not buried in your wallet, not zipped into your main bag. If you’re fumbling through everything at the counter, you’ve already slowed the whole process down for yourself and everyone behind you.
How to Move Through the VOA Queue Without Holding Everyone Up
The process takes five minutes if you’re ready. Forty-five minutes if you’re not. That’s not an exaggeration.
As someone who landed in Bangkok on a red-eye and watched the queue snake back across the entire terminal, I learned that timing changes everything. Overnight international flights dump passengers into immigration at peak hours. Daylight arrivals move faster. If your itinerary gives you any flexibility at all, choose the daytime flight.
The actual sequence
First, find the visa on arrival counter — it sits separately from the main immigration hall. Grab a form if there’s no queue yet. Fill it out using the pen you brought. Don’t ask to borrow one from the counter. They’re shared, frequently missing, and usually dry.
Stack your documents in this order before you reach the window: filled form on top, then passport, two photographs, hotel confirmation, return flight proof, proof of funds, and your arrival card if the country requires one. Officers ask for them in roughly this sequence. Being pre-organized shaves real minutes off your turn at a busy counter.
When you reach the officer, make eye contact and smile. Hand over documents as they’re requested — not all at once in a stack. Answer questions directly and briefly. Don’t oversell your travel plans or volunteer unnecessary explanations about missing items.
Payment comes last. Hand over the exact cash amount if you can manage it. Counting out change at the counter creates delays and visibly irritates officers who’ve already processed two hundred travelers that morning.
When Something Goes Wrong at the Counter
The officer asks for a document you forgot. It happens. Here’s what to actually do.
If you’re missing a document
You have two real options: step aside and return to the departures area to use airport WiFi and fix the problem, or ask the officer calmly whether an alternative will work.
Missing hotel confirmation? Open Agoda on your phone and book the cheapest available property — it takes three minutes and free cancellation means zero financial risk. Missing proof of funds? Pull up your bank balance through your banking app and show the screen directly.
If the officer refuses both alternatives, ask quietly to speak with a supervisor. Supervisors carry discretion that front-line officers technically don’t have. Explain your situation without complaining, without raising your voice. They respond to calm respect — not desperation, not frustration.
If you’re asked to pay more than the listed fee
This happens at certain border crossings more than others — unofficial fees, essentially. If the amount quoted doesn’t match what you researched beforehand, ask politely: “Is there an additional official fee I should know about?” Let them explain it.
If the explanation doesn’t hold up, ask for a receipt for the full amount being requested. Most officers back down when documentation enters the conversation. If they don’t, ask quietly for a supervisor. You have a right to understand exactly what you’re paying and why.
Know the published fee for your destination before you arrive. Thailand’s immigration website lists 2,000 baht explicitly. Cambodia’s lists $35 USD. Having these numbers saved in your phone means you can’t easily be overcharged by someone counting on your ignorance.
Visa on arrival stress essentially disappears when you prepare properly. Printed photographs, correct cash, hotel confirmation, return flight proof — bring all four, every time. Organize everything before you reach the window. Officers process hundreds of travelers daily. Make their job straightforward and the whole thing moves fast — for you and for the person behind you.


Leave a Reply