
As someone who built out an overland rig on a tight budget, I can tell you this: you don’t need to drop $50,000 building the ultimate adventure vehicle. Social media is overflowing with fully kitted rigs sporting every accessory imaginable, but plenty of experienced overlanders travel thousands of miles with way more modest setups. Smart budget building focuses on reliability, capability, and the gear that actually matters for getting out there.
Here’s how to build something capable without emptying your savings account.
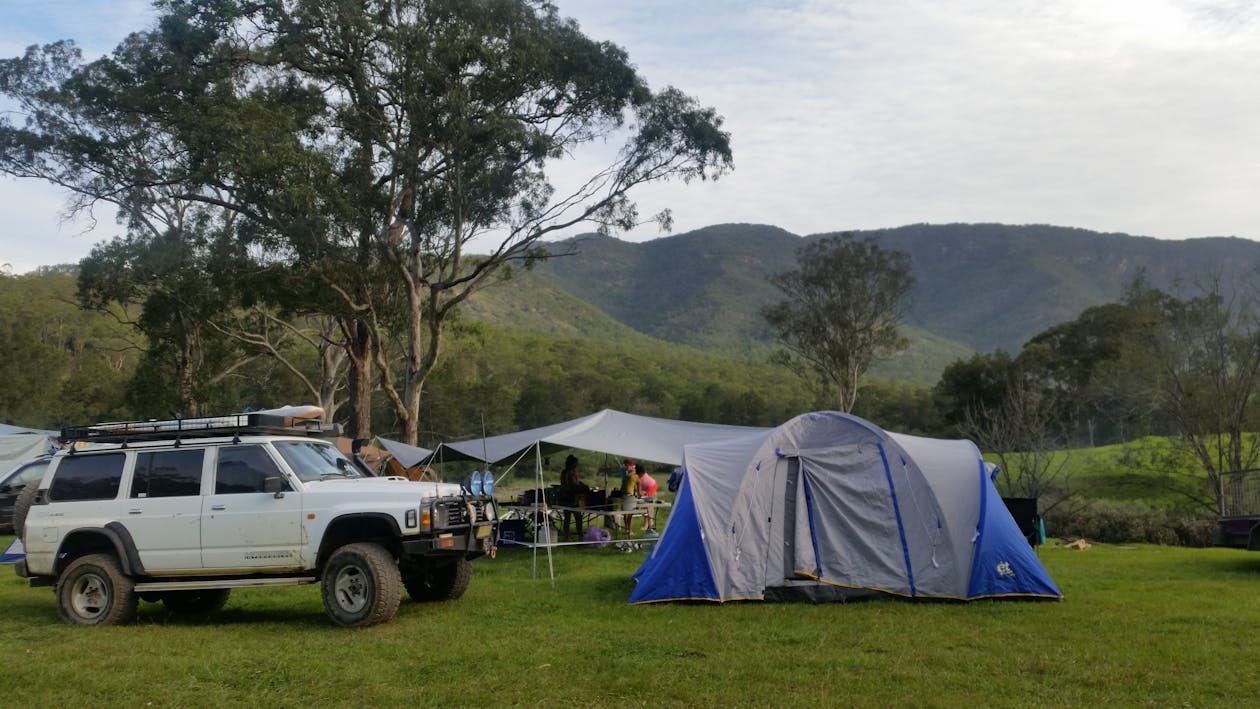
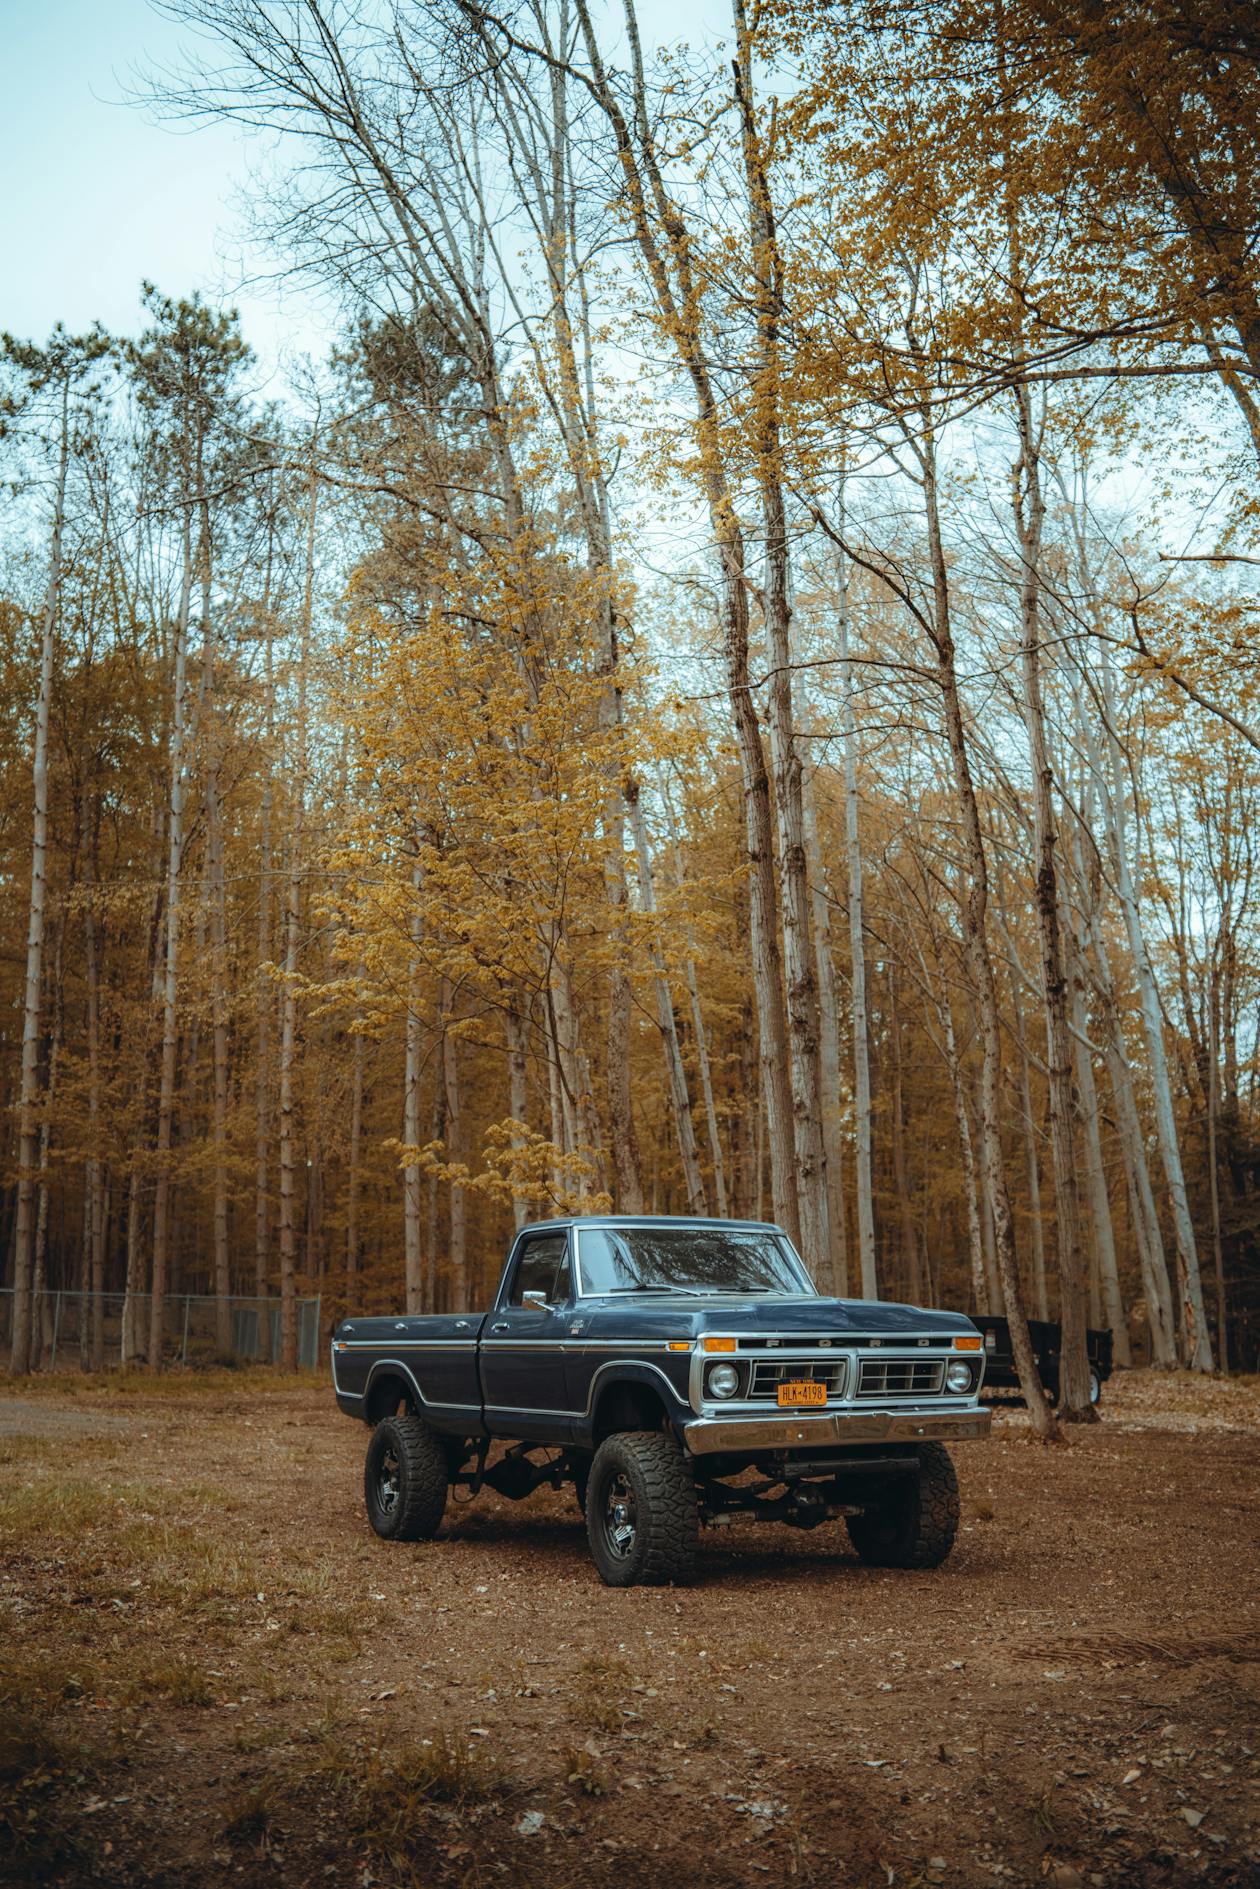
Start With What’s Already In Your Driveway
Before spending a single dollar, take an honest look at your current vehicle. Plenty of stock SUVs and trucks are way more capable than people give them credit for:
- Stock 4WD systems handle the vast majority of overlanding terrain without modification
- All-wheel drive vehicles access easier trails perfectly fine
- Ground clearance matters more than complicated lockers for beginners
- Reliability trumps capability every time – a dependable stock vehicle beats an unreliable modified one any day
Do You Actually Need To Modify Anything?
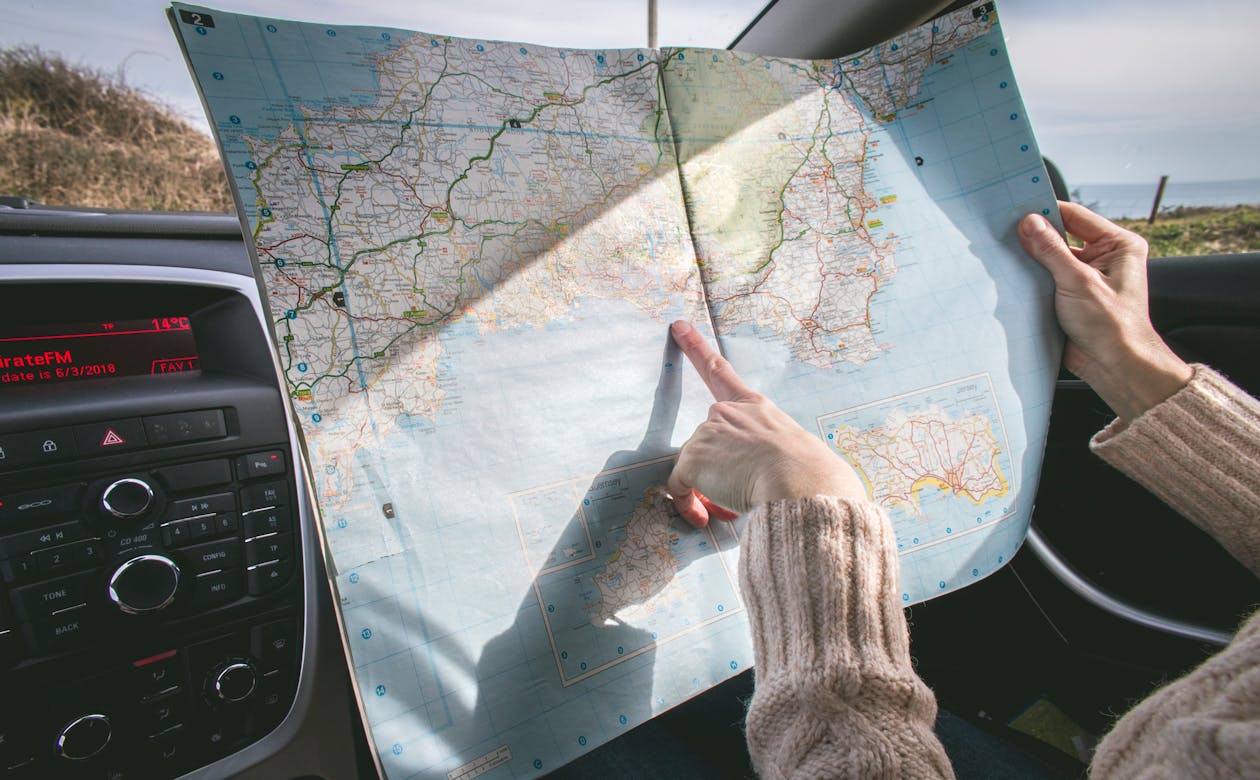
Take your stock vehicle on a handful of trips before buying anything. You’ll quickly discover which limitations actually matter versus what you thought you needed based on YouTube builds.
Priority 1: Tires ($600-$1,500)
If you modify only one single thing, make it your tires. Quality all-terrain or mud-terrain tires transform capability more dramatically than almost any other modification you could make.
What To Actually Look For
- All-terrain (A/T) tires: Best balance of on-road comfort and off-road capability for most people
- Load rating: Match or exceed your vehicle’s requirements
- Size: Stock size works fine; slightly larger if your vehicle handles it without rubbing
- Quality brands: BFGoodrich, Falken, Toyo, and Cooper all offer excellent value without premium pricing
Budget Tip
Buy the best tires you can afford in a size that fits without requiring additional modifications. Going slightly smaller than the maximum saves money on lift kits and regearing down the road.

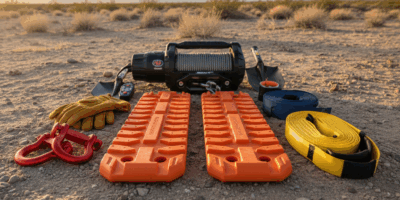
Priority 2: Recovery Gear ($200-$500)
Recovery gear lets you get unstuck and helps other travelers when they’re in trouble. Essential items to carry:
- Recovery strap and soft shackles: $80-$150
- Folding shovel: $30-$60
- Tire deflators: $15-$40
- 12V air compressor: $80-$200
Skip For Now
Recovery boards ($200+) and hi-lift jacks ($100+) are certainly useful but not essential for easier trails. Add them later if your routes actually demand them.
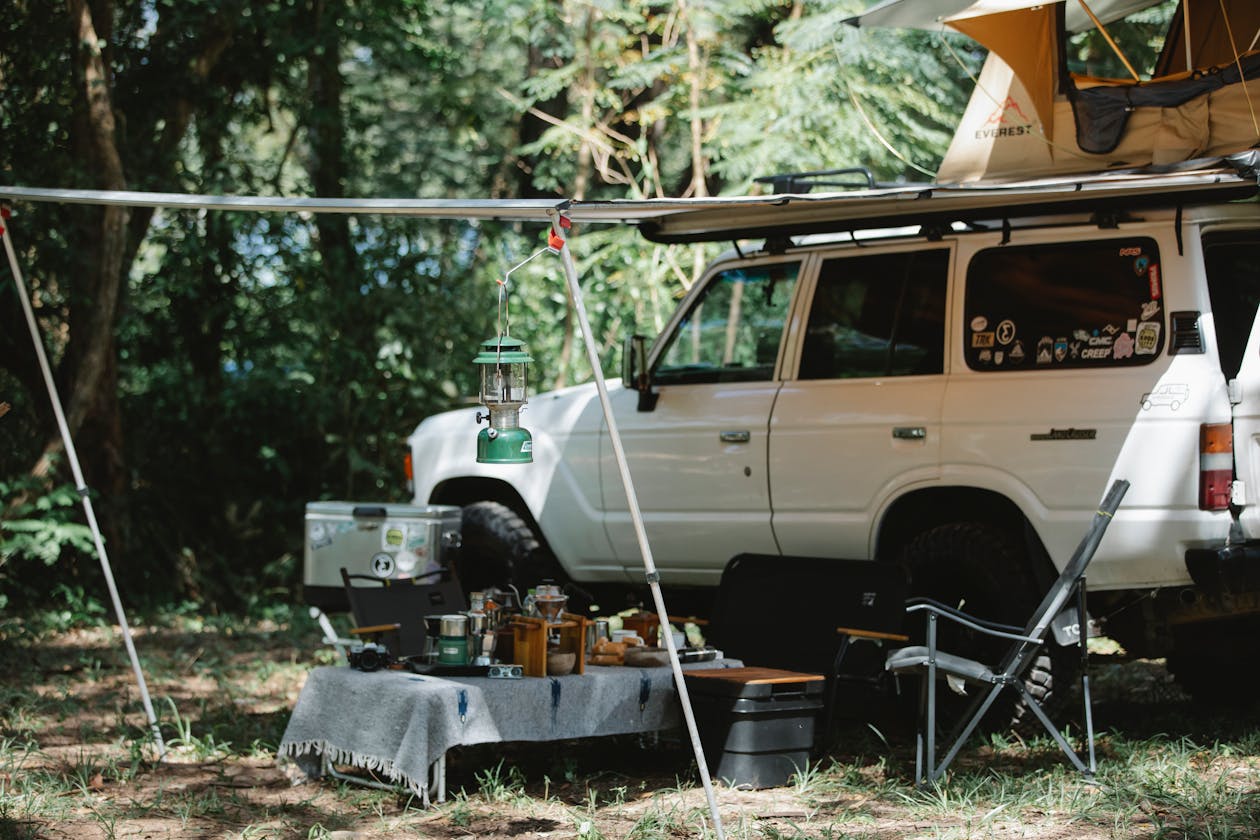
Priority 3: Sleep System ($100-$500)
Good sleep makes everything about the trip better. You absolutely don’t need a rooftop tent to get started.
Budget Options That Work
- Ground tent: A quality backpacking tent works great and costs $150-$300
- Vehicle sleeping: Fold down seats and add a sleeping pad – free if you already own one
- Truck bed tent: $100-$200 for truck owners
- Quality sleeping bag: Temperature-rated for the destinations you’re planning
- Sleeping pad: Better than any cheap mattress you’d buy instead
Rooftop Tents Can Wait
RTTs are convenient but expensive ($800-$3,000+). Start with ground camping and upgrade when you know you actually want to commit to this hobby long-term.
Priority 4: Storage and Organization ($50-$300)
Organized gear is accessible gear. Simple solutions work perfectly well:
- Plastic bins: Cheap, waterproof, stackable
- Cargo nets and straps: Keep things from shifting on rough roads
- DIY drawer system: Plywood and slides cost far less than commercial systems
- Roof basket: Budget racks from Amazon work fine for lighter loads

Priority 5: Cooking Setup ($50-$200)
Simple cooking gear handles most trips without issue:
- Camp stove: A basic propane stove ($30-$80) handles most cooking needs
- Cooler: A quality cooler keeps food cold for days
- Basic cookware: One pot, one pan, utensils
- Water storage: Jugs from the hardware store work just fine
Skip the Slide-Out Kitchen
Expensive slide-out kitchens look incredible on Instagram but aren’t remotely necessary. A folding table and camp stove accomplish the same thing for 90% less money.
What To Skip (For Now)
These popular modifications can wait until you’ve gained some actual experience:
Lift Kits ($500-$3,000)
Stock height handles most overlanding terrain. Lifts add expense and can negatively affect handling, reliability, and fuel economy.
Bumpers and Armor ($1,000-$5,000)
Heavy steel adds weight and reduces fuel economy. Unless you’re regularly rock crawling serious trails, stock bumpers are perfectly adequate.
Roof Racks ($300-$1,500)
Consider whether you actually need to carry things on your roof. Weight up high affects handling and increases fuel consumption noticeably.
Sample Budget Builds
$500 Starter Build
- Keep your current tires (for now)
- Basic recovery kit: strap, shackles, shovel ($100)
- 12V air compressor ($80)
- Ground tent (use one you own or $100)
- Sleeping pad and bag ($100)
- Camp stove and cookware ($50)
- Plastic bins for organization ($30)
- First aid kit ($40)
$2,000 Capable Build
- Quality all-terrain tires ($800-$1,000)
- Recovery kit with boards ($300)
- Good 12V compressor ($150)
- Quality ground tent ($200)
- Better sleep system ($150)
- Cooking setup with quality cooler ($150)
- Organization bins and cargo management ($50)
$5,000 Complete Build
- Premium all-terrain tires ($1,200)
- Complete recovery kit with winch ($1,500)
- On-board air system ($300)
- Entry-level rooftop tent ($1,000)
- Roof rack for tent ($400)
- Complete camp kitchen setup ($300)
- Organization and storage ($300)
Where To Actually Save Money
- Buy used: Rooftop tents, coolers, and camping gear depreciate quickly on the secondary market
- DIY: Build your own sleeping platform, drawer system, or storage solutions
- Wait for sales: Black Friday and end-of-season sales offer significant savings
- Prioritize: Buy one quality item instead of multiple cheap ones that’ll need replacing
- Borrow first: Test gear before buying – friends or rental companies can help you figure out what you actually need
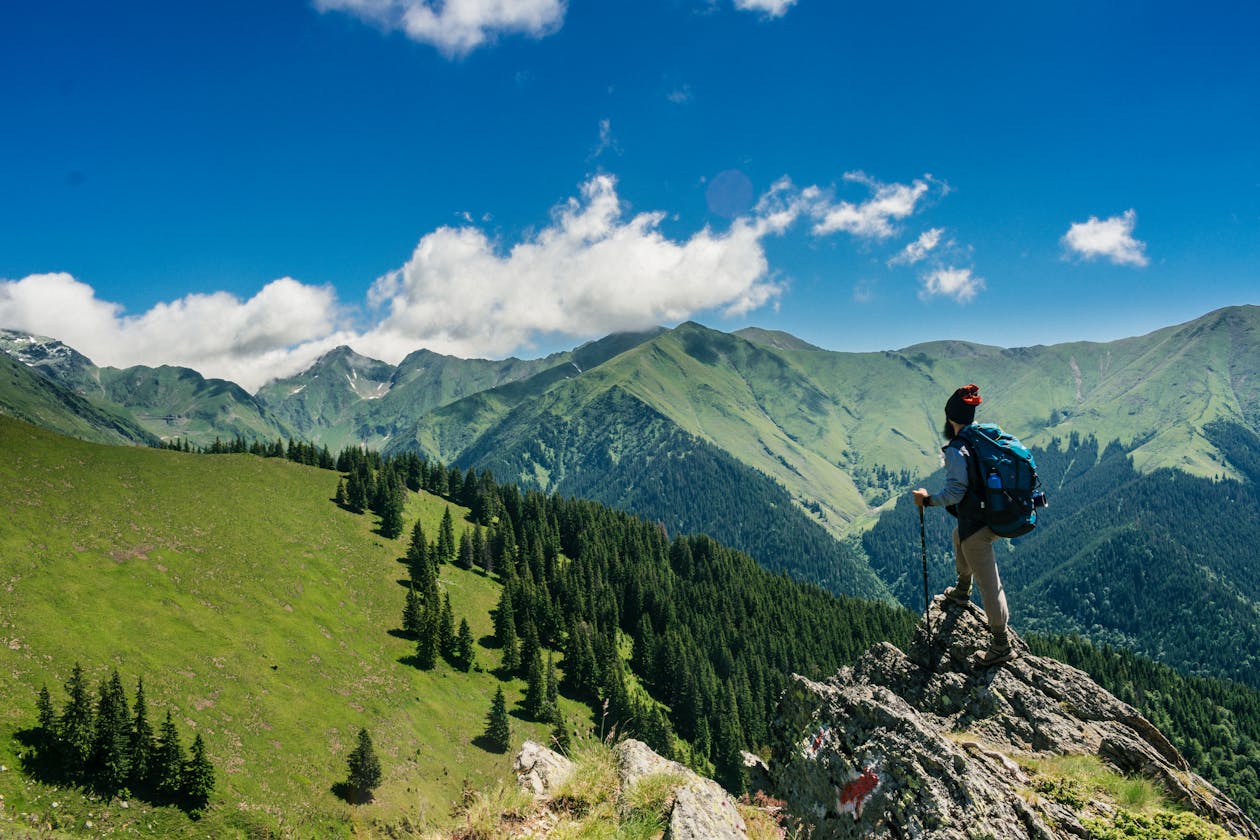
Build Based On Experience, Not Instagram
The smartest approach: start minimal and add equipment based on actual needs you’ve discovered.
- First trips: Basic gear only – learn what you actually use and what sits untouched
- After 5-10 trips: Upgrade tires if needed, add recovery gear that matches the terrain you’re actually driving
- After a season: Invest in comfort items you’ve identified as real priorities
- Long-term: Consider major modifications only if you’re consistently limited by your current setup
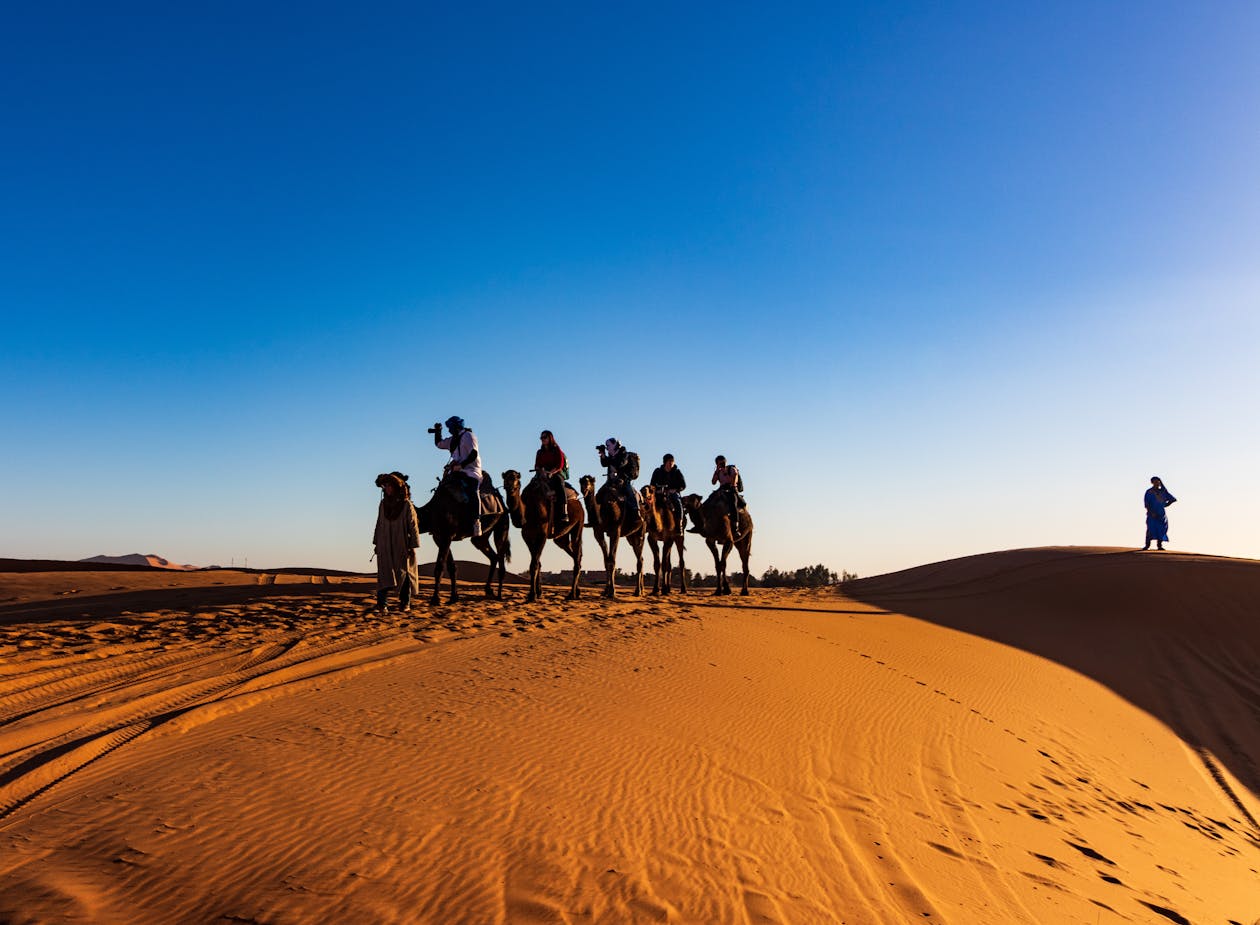
The best overlanding rig is the one that actually gets you outside. Don’t let budget constraints keep you from exploring. Start with what you have, add thoughtfully based on real experience, and let actual trips guide your upgrades. Many of the best adventures happen in vehicles that look nothing like the builds flooding social media.


Leave a Reply